
Last updated October 31, 2026
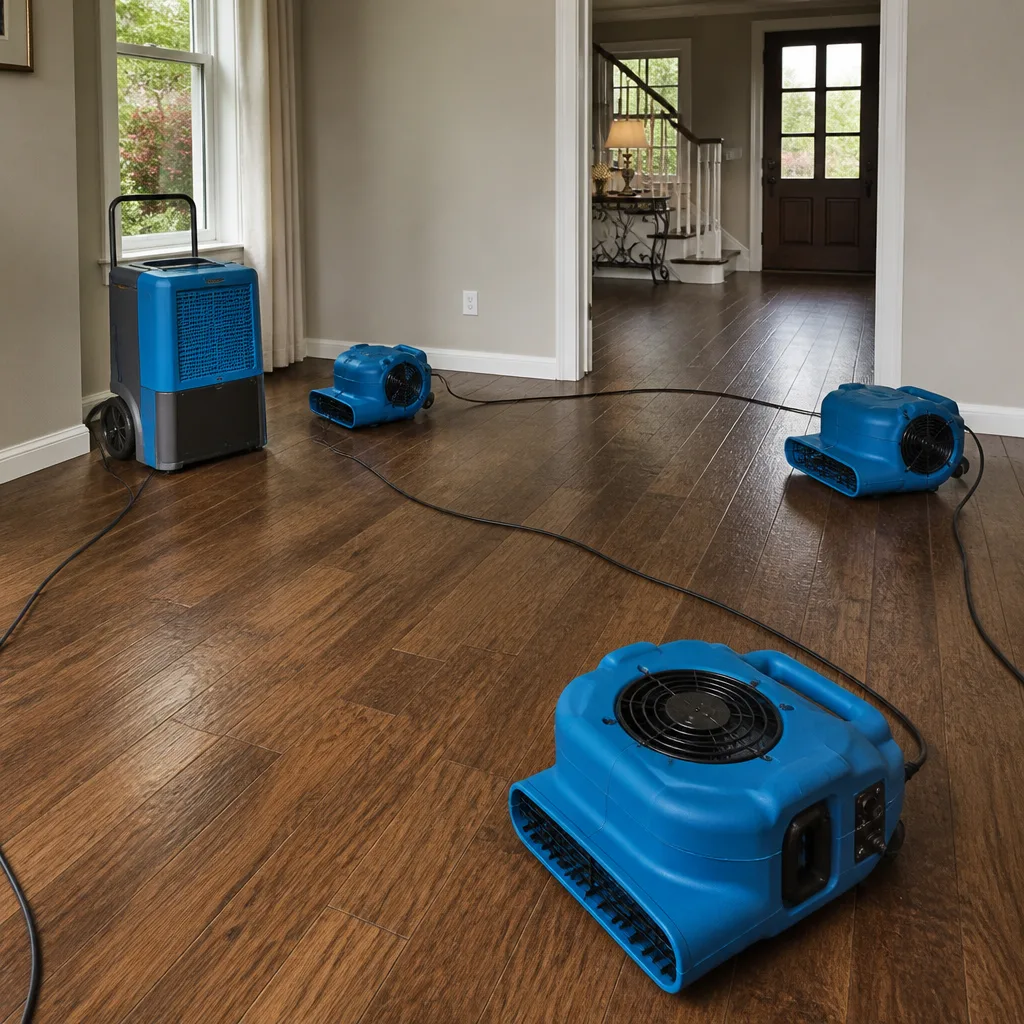 Water damage drying
 Fire & smoke cleanup
 Mold remediation
 Storm response
 Sewage cleanup
 Reconstruction
Free visual inspection and a written scope of work before any mitigation begins - photos, moisture readings, and drying logs go in your claim file
The scope we write is the scope we bill. Anything new gets shown to you, in writing, before we touch it.
Get your free estimateWater Damage Restoration Maintenance Checklist for Orange Homeowners
Insurance data consistently shows that washing machine supply hose failures cause more residential water damage by dollar volume than storms, and the average Orange homeowner hasn’t inspected theirs since installation. The rubber hose behind your washer was never designed to last the life of the appliance, yet most people replace the washer twice before ever touching the hose. This guide walks through the failure points that actually generate the majority of water damage claims in Orange, organized by how often they fail, not alphabetically. You’ll learn what to check, how often, what a $30 moisture meter can tell you, and when a certified restoration team should be brought in before a slow leak becomes a gut job.
Restoration work we handle
Quick Answer
The most effective water damage maintenance for Orange homeowners is a quarterly inspection of appliance supply lines, HVAC condensate drains, and under-sink plumbing, plus an annual check of water heater condition and exterior drainage. Homes built between 1978 and 1995 should also be checked for polybutylene pipe, which fails at a rate far higher than copper or PEX. A handheld moisture meter provides baseline readings so abnormal moisture is caught before visible damage appears. Most failures that lead to major restoration projects were visible for weeks or months before the actual leak occurred.
Table of Contents
- Appliance Supply Lines: The Number One Failure Point
- HVAC Condensate Drains and Drain Pans in Attic Air Handlers
- Polybutylene Pipe in Orange Homes Built 1978-1995
- Water Heater Anode Rods and Orange’s Hard Water Reality
- Using a Moisture Meter to Establish Baseline Readings
- Under-Sink and Behind-Toilet Inspections
- Exterior Drainage and Grading Around the Foundation
- Common Mistakes to Avoid
- When to Call a Professional
- Frequently Asked Questions
- The Bottom Line
Appliance Supply Lines: The Number One Failure Point
A braided stainless steel supply line costs between $12 and $25 at any hardware store in Orange. The water damage from a failed rubber hose routinely runs into the thousands, and when it happens while nobody is home, the number can reach five figures. Our restoration crews respond to washer supply line failures more than any other single cause of residential water damage, and the pattern is consistent: the hose was original to the appliance, showed visible bulging near the fitting, and had been ignored.
Quarterly inspection takes under ten minutes and covers three appliances: the washing machine, the dishwasher, and the refrigerator if it has a water dispenser or ice maker.
What to check on braided supply lines:
- Bulging near the crimped fitting: A section that looks swollen or uneven where the braid meets the brass connector is failing internally. Replace immediately.
- Corrosion at the fittings: Green or white crust around the connection point means water has been seeping slowly. The fitting is compromised.
- Discoloration of the braid: Dark spots or rust stains on the stainless braid indicate moisture has been trapped against the line, which accelerates failure.
- Kinks or sharp bends: Any bend tighter than a 90-degree angle stresses the internal rubber tube. Reroute the line or replace it.
- Age of the hose: If you cannot remember when the hose was installed, replace it. Rubber hoses should be swapped every three to five years. Braided steel lasts longer but is not lifetime-rated.
Replacement is a ten-minute job with a wrench and some plumber’s tape. The alternative is a call to a Water Damage Restoration in Orange team when the hose finally lets go at 3 a.m. and water has been running for hours before anyone notices. We have seen laundry rooms where the vinyl flooring had to be pulled, the drywall cut two feet up, and the subfloor dried for a week, all because a $15 hose was original to a 2009 washer.
HVAC Condensate Drains and Drain Pans in Attic Air Handlers
Orange homes with attic air handlers have a chronic problem: the condensate drain clogs, the drain pan overflows, and water finds its way through the ceiling below. This is slow, cumulative damage that often shows up as a water stain on the ceiling that gets bigger over weeks. By the time the stain is noticeable, the drywall is saturated, and mold is often already active in the cavity.
The air handler produces condensate every time the air conditioning runs, which in Orange means most of the year. That water is supposed to drain through a PVC line to the exterior, but dust, insulation fibers, and microbial growth slowly choke the line from the inside.
Quarterly condensate system protocol:
- Locate the drain pan under the air handler. If the attic access is in a hallway ceiling, this is easier than it sounds. Bring a flashlight.
- Check for standing water. A drain pan with water in it during the cooling season means the primary drain is already restricted. The secondary pan is the backup – it should be dry.
- Pour one cup of white vinegar down the primary drain line. Vinegar breaks down the microbial sludge without corroding the PVC. Do this at the beginning of each cooling season and again mid-summer.
- Inspect the drain pan for rust or cracks. Metal pans corrode. Plastic pans crack. Either condition means the pan will not hold water when the drain backs up.
- Check the emergency shutoff float switch. Many Orange homes have a float switch that shuts off the AC when the pan fills. Test it by lifting the float – the system should stop.
In our experience, the homes that end up with ceiling replacement from condensate overflow are the ones where the attic access has been blocked by stored boxes for years. If we can reach the air handler, so can you. The difference is a quarterly ten-minute inspection versus a restoration project that requires cutting out ceiling drywall, drying the joist bays, and repainting.
Polybutylene Pipe in Orange Homes Built 1978-1995
Polybutylene pipe, identifiable by the PB-2110 stamping along the pipe wall and typically gray or blue in color, was installed in Orange tract homes from the late 1970s through the mid-1990s. The material was cheap, flexible, and easy to run, which made it popular with production builders. What nobody knew at the time was that chlorine and other oxidants in municipal water supplies cause the pipe walls to degrade from the inside, leading to sudden, full-bore ruptures rather than slow drips.
This is not a hypothetical concern for Orange homeowners. Entire neighborhoods in the city were built during the peak polybutylene era, and the failure rate accelerates as the pipe approaches 30 to 40 years of service. A pipe that has been quietly degrading since 1988 may fail tomorrow.
How to identify and assess polybutylene in your home:
- Check visible piping under sinks, behind toilets, and at the water heater. Look for gray or blue plastic pipe with PB-2110 stamped on the side.
- Look at the fittings. Polybutylene uses plastic or copper crimp fittings, not the brass compression fittings used with PEX.
- Check the service line from the meter to the house. Some Orange homes have PB main lines in addition to interior distribution piping. A blue-gray pipe entering the foundation is a red flag.
- If polybutylene is confirmed, document what is visible. Photograph the pipe, the fittings, and the locations.
The maintenance calculus here is straightforward: if you have polybutylene and you plan to stay in the home for years, full replacement is the only real solution. If replacement is not in the budget right now, the interim protocol is aggressive inspection. Check accessible piping monthly. Know where your main shutoff is and make sure every adult in the house can operate it in under 30 seconds. Consider installing a water leak detection system with an automatic shutoff valve. But understand that polybutylene failure is not a slow leak. It is a pipe splitting open. The first sign is often water pouring through a ceiling.
For Orange homeowners who do replace polybutylene, the project should be done by a licensed plumber with repiping experience. And if a PB pipe fails before replacement happens, you are looking at a full water damage restoration scope, not a quick mop-up.
Water Heater Anode Rods and Orange’s Hard Water Reality
Orange’s municipal water supply runs hard, which means high dissolved mineral content, primarily calcium and magnesium. Hard water accelerates corrosion inside every water heater in the city. The anode rod, a sacrificial magnesium or aluminum rod inside the tank, is designed to corrode so the tank walls do not. When the anode is depleted, the tank itself becomes the sacrificial metal, and failure follows within two to four years.
Most Orange homeowners have never heard of an anode rod. The water heater is in the garage or a closet, it heats water, and nobody thinks about it until the tank leaks or the bottom rusts through. By then, the damage to the surrounding area is done. A 50-gallon tank emptying onto a garage floor and into adjacent walls is a restoration project, not a water heater replacement.
Anode rod inspection schedule tied to Orange water hardness:
- Year 1-3 after installation: Inspect the anode rod annually. In hard water, the rod may show significant depletion within two years.
- Year 4-5: If the rod has not been replaced, replace it now regardless of visual condition. The cost is $20 to $40 for the rod and about an hour of labor.
- Year 6-8: Many water heaters in Orange fail during this window when the anode was never maintained. If the tank is past year 7 and the anode is original, replacement of the rod may not save the tank, which is already compromised.
- Tank age over 10 years: Budget for replacement. The tank walls have been thinning. A leak is imminent, not hypothetical.
The inspection itself requires draining a few gallons of water, removing the anode rod with a 1-1/16 inch socket, and visually assessing the remaining sacrificial material. If the rod is down to the steel core, it is spent.
When a water heater fails in Orange and the damage extends beyond the tank itself, the restoration job involves water extraction, containment, drying, and often mold prevention because hard water mineral deposits create the exact damp, mineral-rich environment where microbial growth thrives. The mold remediation component of a water heater failure is often what drives the cost up.
Using a Moisture Meter to Establish Baseline Readings
A $30 pinless moisture meter is the single most useful preventative tool an Orange homeowner can own. It reads moisture content inside wall cavities, under flooring, and behind cabinetry without making holes. The problem most people have is that they do not know what a normal reading looks like in their own home, so an abnormal reading means nothing to them. Establishing baseline readings changes that.
IICRC-certified restoration crews use professional-grade moisture meters like the Delmhorst or Tramex units during every drying project, but a consumer unit is perfectly adequate for monthly monitoring. The key is consistency: same locations, same conditions, month after month.
Establishing and using a baseline protocol:
- Choose five to eight monitoring points. Under every sink, behind every toilet, at the base of the water heater, under the dishwasher, and at the lowest point of any wall adjacent to a bathroom.
- Take readings in the same spot each time. Mark the locations with a small piece of painter’s tape if needed. Readings vary by location, so consistency matters more than the absolute number.
- Record the baseline readings. Write them down. A notes app works. Paper works. The baseline is your reference point.
- Take new readings monthly. Any reading that jumps 10 to 15 points above baseline indicates a leak or moisture intrusion that needs investigation.
- Investigate any elevated reading immediately. Do not wait for visible staining. The whole point is to catch moisture before it becomes visible damage.
Under a kitchen sink, a normal reading might be 6 to 8 on a relative scale. A reading of 20 suggests a slow drip that has been saturating the cabinet base for weeks. Behind a toilet, normal might be 5. A reading of 15 indicates a wax ring that is no longer sealing. These are exactly the conditions that lead to water damage restoration projects when they are left unaddressed. Found early, they are a twenty-minute fix with a wrench and a $4 wax ring.
Under-Sink and Behind-Toilet Inspections
The spaces under sinks and behind toilets are where slow leaks live. These are not dramatic failures. They are drips measured in drops per minute that saturate cabinet bases, wick into baseboards, and create the dark, damp conditions where mold establishes itself. In Orange, where homes are sealed up tight for air conditioning, these hidden spaces do not dry on their own. They stay wet.
Under-sink inspection protocol:
- Clear everything out. The cleaning supplies and trash bags sitting under the sink hide water stains and make inspection useless. Pull everything out quarterly.
- Feel the cabinet base. Run your hand across the entire bottom surface. Swelling, softness, or discoloration means water has been present. Dry does not mean no leak, but wet or stained means a leak already happened.
- Check the shutoff valves. Turn them off and back on once a year. Valves that have not been cycled in years seize, and a seized valve is useless when you actually need to shut off water fast.
- Look at the P-trap connections. The slip nuts loosen over time. Hand-tighten them. If they are crusted with mineral deposits, there has been seepage.
- Test the supply connections with a dry paper towel. Wipe each fitting, then check the towel. If it comes away damp, the fitting is leaking.
Behind-toilet inspection protocol:
- Check the supply line at the wall and at the tank. Same test with a dry paper towel. Wipe and inspect.
- Look for discoloration on the floor around the toilet base. A yellowing or darkening ring suggests the wax seal has failed and water is seeping out with every flush.
- Check for rocking. A toilet that moves when you sit on it has already compromised the wax ring. The movement breaks the seal, and sewage water seeps under the flooring.
- Test with a moisture meter at the base. Front, back, left, and right. Any elevated reading means the seal is failing even if you cannot see it.
A failed wax ring is not just water damage. It is sewage. The mold remediation scope for a toilet leak involves category 2 or 3 water, not clean water, and the restoration protocol is more involved. This is one of those situations where a $10 wax ring and thirty minutes of work prevent a restoration project.
Exterior Drainage and Grading Around the Foundation
Orange gets most of its annual rainfall in a few concentrated winter months, and when the rain comes, it comes hard. Homes with poor grading or clogged drainage systems take on water through the foundation, through basement walls in older homes, and through crawl space vents. This is seasonal, predictable, and entirely preventable with maintenance done before the rainy season starts.
Pre-rainy-season drainage checklist:
- Walk the perimeter during the first rain of the season. Do it while it is raining. Look for water pooling against the foundation. That is water pressure against your slab or stem wall.
- Check grading. The ground should slope away from the house at least six inches over the first ten feet. Settling around foundations is normal in Orange, but it needs to be corrected. Compacted soil or clay is the typical fix.
- Clean gutters and downspouts. Before the rain starts, not after. Clogged gutters overflow, and overflowing water dumps directly against the foundation instead of being carried away.
- Extend downspout discharges. Downspouts should discharge at least four to six feet from the foundation. A splash block is not enough if the ground slopes back toward the house.
- Check crawl space vents. If the home has a crawl space, the vents should be clear and the vapor barrier should be intact. Standing water in a crawl space after rain means the drainage system is failing.
- Inspect the irrigation system. A sprinkler head that has shifted and sprays the side of the house is introducing water against the foundation every time it runs. In Orange, irrigation runs year-round.
Foundation intrusion is one of the most expensive water damage scenarios because the affected areas are structural. When water enters through the foundation, the restoration scope often includes mold remediation in the affected wall cavities, which means containment, negative air pressure, and controlled demolition before drying can even begin.
Common Mistakes to Avoid
- Waiting for visible damage before investigating. By the time a water stain appears on a ceiling or a baseboard swells, the leak has been active for weeks. Moisture meter baseline readings catch problems before they become visible.
- Replacing an appliance without checking the supply lines. The new washer gets installed with the old hose. Six months later, the old hose fails, and the new washer is sitting in water. Replace supply lines every time an appliance is replaced.
- Ignoring a small water stain because it stopped growing. A stain that stops growing means the leak stopped, or it means the affected area is saturated and the moisture is spreading invisibly. Either way, the drywall is compromised.
- Assuming polybutylene is fine because it has not leaked yet. Polybutylene failure is sudden and catastrophic. The age of the pipe, not its current condition, is the risk factor. Homes with PB pipe are on borrowed time.
- Never cycling shutoff valves. A shutoff valve that has not been turned in ten years will not turn when you need it to. Exercise every valve in the house annually.
- Storing items against exterior walls in the attic. This blocks airflow, creates condensation points, and hides the early signs of roof leaks. It also makes the attic access impassable for air handler inspections.
- Relying on a home inspector’s one-time report from years ago. Conditions change. The supply lines that were fine at purchase have aged. The grading that was acceptable has settled. A report from five years ago describes a house that no longer exists.
When to Call a Professional
Some maintenance items are homeowner territory. Replacing a supply line, checking a drain pan, and taking moisture readings are all reasonable DIY tasks. But certain findings demand professional attention before the damage spreads, and recognizing the line between maintenance and restoration is part of being a responsible homeowner.
Call a professional if you find standing water that has been present for more than 24 hours, if a moisture meter reading is elevated and you cannot identify the source, if water has penetrated wall cavities or subflooring, if you see visible mold growth of any size, or if a supply line has burst and water has run through multiple rooms. These are not maintenance situations. They are restoration scopes, and the wrong response makes them worse. Renew Water Damage offers free estimates in Orange, and the call costs nothing. Waiting costs more every day. Call (833) 620-3891.
Frequently Asked Questions
Rubber washing machine supply hoses should be replaced every three to five years, and braided stainless steel hoses should be replaced every ten years or at the first sign of bulging, corrosion, or discoloration at the fittings. In Orange, where hard water accelerates corrosion at connection points, we recommend checking fittings quarterly and replacing any suspect line immediately. A failed supply hose is the single most common cause of major residential water damage we see. Call (833) 620-3891 if a hose has already failed and you need professional water extraction.
Yes, check under sinks, behind toilets, and at the water heater for gray or blue plastic pipe with PB-2110 stamped along the side. Polybutylene was used extensively in Orange homes built between 1978 and 1995, and it degrades from the inside due to chlorine in the water supply. If you find it, have a licensed plumber assess the full extent. If a PB pipe has already ruptured, professional water damage restoration is required, not just a mop-up.
A pinless moisture meter costs between $25 and $40 at most hardware stores, and it is worth every dollar if it catches one slow leak before the damage requires restoration. The key is establishing baseline readings in high-risk areas so abnormal readings are immediately identifiable. A jump of 10 or more points from your baseline indicates moisture intrusion that needs investigation.
Appliance supply line failures, primarily washing machine hoses, generate more residential water damage by dollar volume than any other single source in Orange. HVAC condensate overflow from attic air handlers is the second most common, and it is uniquely prevalent in Orange because so many homes have attic air handlers that run most of the year. Water heater failures, accelerated by the city’s hard water, round out the top three.
Most homeowner policies cover sudden and accidental water damage from supply line failures, water heater leaks, and similar events, but coverage depends on the specific policy language and whether the damage was gradual or sudden. Document everything with photos before any cleanup begins. Restoration companies that work directly with adjusters can help, and Renew Water Damage in Orange provides photo documentation throughout the restoration process to support your claim.
Most established restoration companies in Orange can have a crew on-site within hours of the call. The speed of response matters because water wicks into drywall, baseboards, and subflooring within minutes, and mold becomes active within 24 to 48 hours. Call (833) 620-3891 and a certified team will assess the damage and begin extraction.
The Bottom Line
Water damage in Orange homes is rarely a mystery. The failure points are well documented, and they fail in predictable order: appliance supply lines first, HVAC condensate systems second, water heaters third, and aging polybutylene plumbing as the wild card. A quarterly inspection protocol covering these systems, backed by moisture meter baseline readings and honest attention to what you find, eliminates the majority of residential water damage risk. The maintenance is not expensive or time-consuming. The restoration, when maintenance is skipped, is both. For Orange homeowners who discover damage that has already progressed, professional help is one call away. For everyone else, the checklist above is the insurance policy with the best return.
Written by the team at Renew Water Damage, serving Orange since 2015.
See the difference
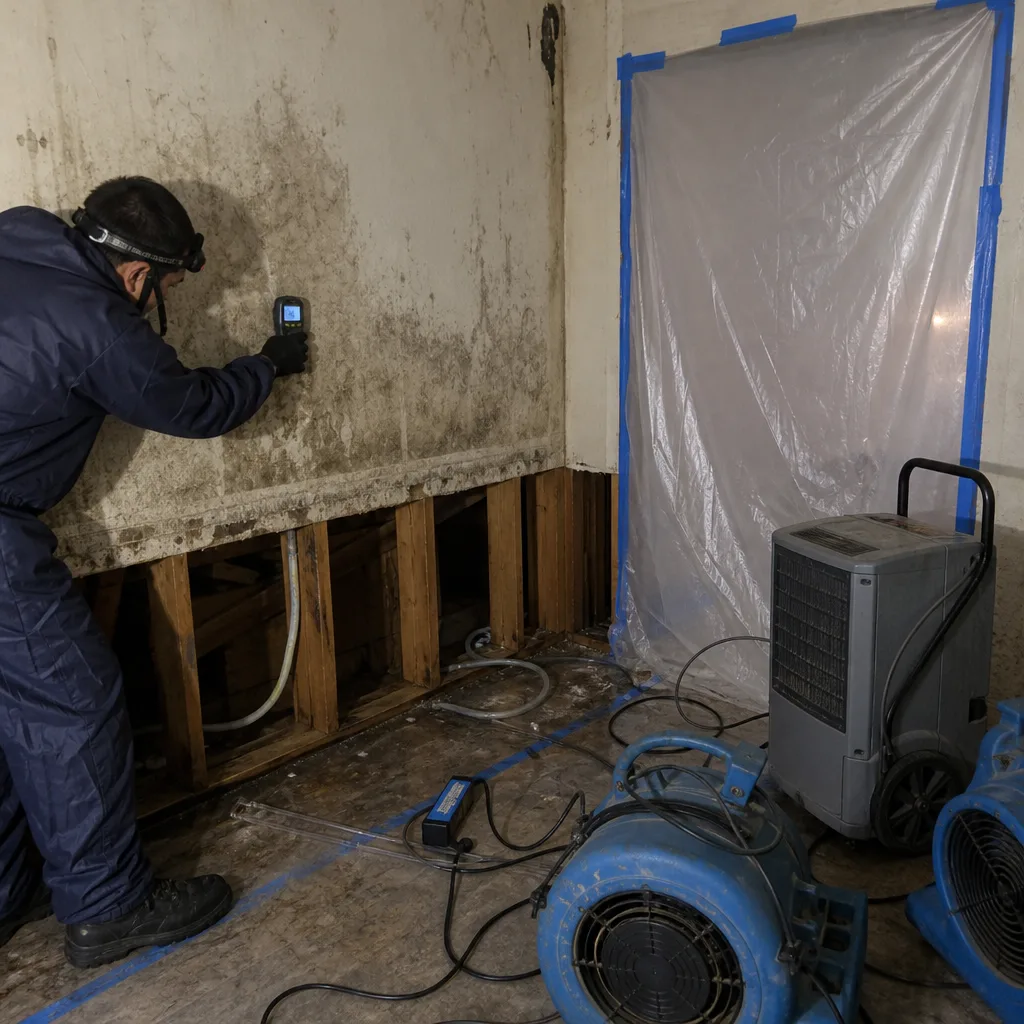 Before
 After
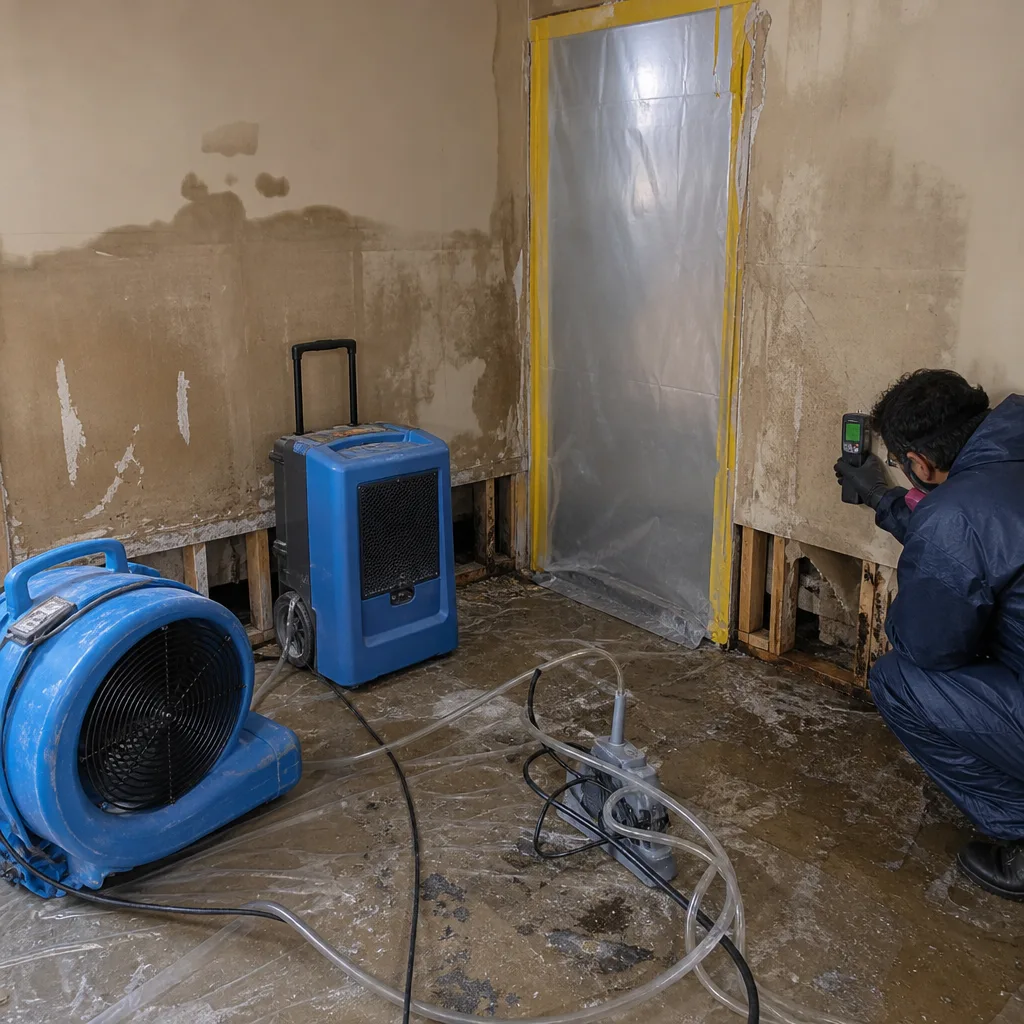 Before
 After
 Before
 After